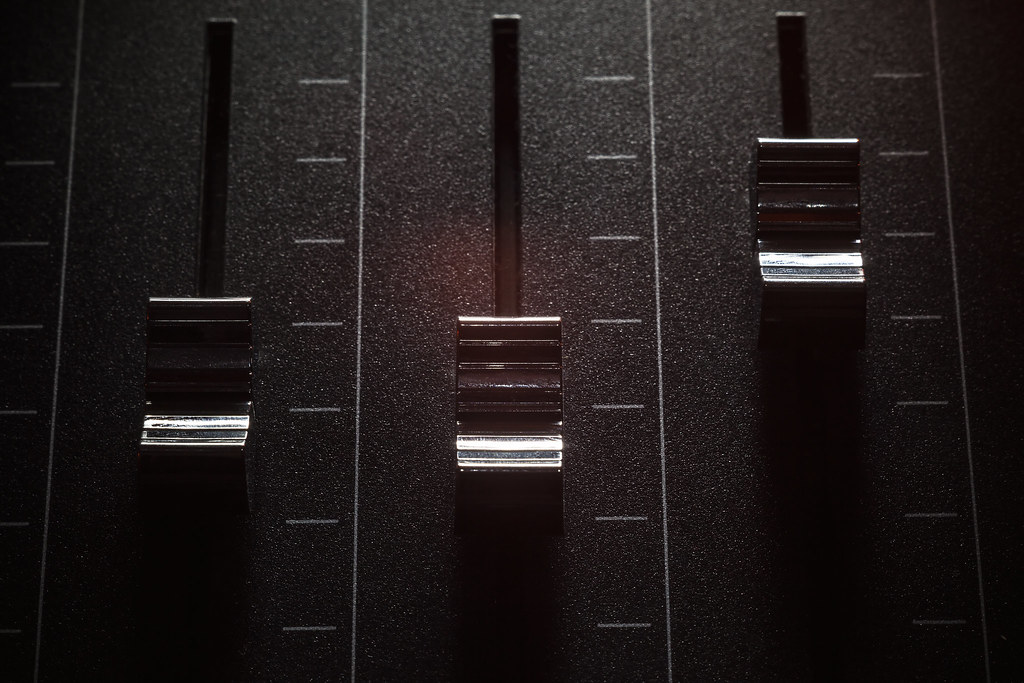
Mixing part 2

Panning, Processing pt.1

Panning

Some people like to save panning for when the mix is done, and others like to do it as they go along. I usually tend to do panning as I go, and experiment a little bit with what sounds best. It helps to create more space and clean up the mix a little bit, and it allows us to get an idea of how the project will sound in stereo once it is done. If you are mixing in stereo, it is important to check your mix in mono just to see how it sounds. There is a good chance that your track will get played in mono at some point, so you want to make sure that it sounds just as good in mono.

EQ

Next, I like to EQ nearly everything, as most tracks can use at least a little bit of it. Keep in mind that every track will need different EQ. It’s important to not just slap on one of the EQ presets and call it a day. This goes for any of the plugins you may use. The presets don’t know exactly what your instrument sounds like or what frequencies need to be cut or boosted. Plugin presets can be helpful in providing us with ideas. For example, if an EQ has a “Punchy Kick” preset and you apply it to your kick drum track, it will likely have a boost around 60Hz, a small cut from 100-400Hz, and another boost around 5kHz. This preset is not tailored specifically for your kick drum! But it can provide you with ideas of what to boost and what to cut when looking to get a “punchy” kick sound. Listen carefully, figure out what each track needs, experiment with boosting and cutting different frequencies. How you EQ may depend on the instrument or source, the mic with which it was recorded, how it was miked, the room in which it was recorded, where the source was placed within the room, the preamp used, and other factors. What is most important, though, is what sounds best. There is not one particular way to best EQ any sound or instrument. Only your ears can tell you the best way to EQ a particular track.

Compression

Compression is something that can be quite easy to use incorrectly. Something that people don’t always realize is that while compression can be used as an “effect”, it is not an effect. It is very important to know your intentions before using compression. Always ask yourself things like: “Does this track need compression?”, “Could this track benefit from some compression?”, “How much compression does this track need?”, etc. Be sure that you know why you’re using compression. Be careful not to over-compress. If you are using the compressor for its intended purpose, you should not be able to hear it working, and if you do it should be very, very subtle. If you’re struggling to find the right amount of compression on a particular track without over-compressing it, there is a very simple way of resolving this. Using a method called “parallel compression”, you can add more compression without over-compressing the signal. “How is this possible?”, you might ask. It’s quite simple, actually. When you put one compressor after another on the same track, you can spread out the work between them. This allows each compressor to only compress a little bit at a time, preventing over-compression. Don’t be afraid to do this, especially if you feel a track needs a decent amount of compression, but one compressor alone is over-compressing when you reach the desired amount. This is a technique that is used widely and very often.

One thing I should note about working with processing is that you should process within the whole mix. In other words, don’t always solo the one track you are processing. Listen to how the entire mix sounds as you adjust EQ or compression or reverb (or anything!) on a single track. The reason for this is that each of your instruments/tracks will sound different within the mix than they will on their own. The best way to build a cohesive mix is to process and mix everything together. This is especially important when using EQ. You want each instrument to have a bit of its own frequency space, otherwise your mix might sound crowded. For example, if you want your snare drum to cut through the mix, you might tweak the EQ a little bit. If you have it soloed the entire time you are EQing, how will you know if it is cutting through the way you want it to? Pay close attention to these things, ask yourself questions like: “Are the guitars or cymbals getting in the way of the vocals?” or “Is the bass guitar getting lost?”, etc. It’s okay to solo things now and then, just try not to make it a habit.

Brand New – Song Analysis and Comparison

Today I am going to be looking at and comparing two tracks by the same artist. I have chosen “Batter Up” and “Millstone”, both by the band Brand New. “Batter Up” is in the key of E, while “Millstone” is in the key of F#m.

Let’s start by looking at “Batter Up”.

The song is entirely diatonic. All chords stay within the key and the vocal melody stays within the scale. It is in 4/4 and has a tempo of about 80bpm. The song begins with the verse, going back and forth between the IV chord (Amaj7) and the vi chord (C#m7). The chords in the chorus are E, A, B, C#m, and C#m7.

The interesting thing about “Batter Up” is that it sounds as though it is being played in a minor key due to it’s “sad” feel (This is also due to the band’s sound. None of their songs sound particularly “happy”). During the verse, the C#m7 seems to resolve well, but once the Emaj is played in the chorus, we discover that it resolves much better. When we finally hear that E chord, the C#m and C#m7 really feel as though they want to resolve back to E as the tonic. I will also note that the Bmaj chord in the chorus is treated as a V chord, as the chords climb up from I-IV-V-vi and then resolve back to the I when the chorus repeats.

Additionally, because there is such a long buildup to the chorus, the resolution of the E chord’s first appearance at the very beginning of the chorus is almost chilling.

In terms of instrumentation, the song is fairly minimalistic. As far as I can hear, there are two guitars, one acoustic and one electric. There are two main vocal parts, the lead vocal and a higher harmony. There seems to be a bit of subtle bass guitar and some pads as well. Very subtle and minimalistic percussion begins to come in during the second verse. The song is very guitar and vocals dominant, with other instruments added in to fill out the sound and make the song more interesting.

Now let’s take a look at “Millstone”.

The song is almost entirely diatonic, as the vocal melody does not leave the scale and all chords but one are within the key of F#m. It is in 4/4 and has a tempo of about 100bpm.

The song begins with the verse where it goes between the i (F#m) chord and the III (A) chord before moving to the VI (D) and VII (E) chords for the last two lines of the verse, leading into the chorus which returns to the i chord into the III chord. Something that helps keep the chorus harmonically interesting while consisting of only two chords is what the bass guitar is doing. He plays a passing note of E before changing to A, which briefly turns the F#m chord into an F#m7 in 3rd inversion. Additionally, while playing the A chord, the bass guitar briefly plays the E again though this time a couple of times. Because the A chord has an E note in it, the bass player is simply changing the inversion of the chord briefly. Incredibly simple, but very effective in making the same chord sound more interesting.

The bridge is a bit more harmonically interesting. It introduces the iv (Bm) and v (C#m) chords, and then out of nowhere throws a Gmaj chord in there. While the G chord does sound a little out of place in this key, it sounds great in this context as the G is played where the Bm was previously played. These two chords share two common tones: B and D. So you could think of the G chord as a Bm#5. The G moves directly to the C#m chord (v), giving this particular progression a sort of exotic sound.

In terms of instrumentation, there are drums, bass guitar, two electric guitars and vocals. The intro is just bass guitar, then the verse comes in with vocals and a guitar in harmony. The drums and second guitar come in for the chorus, along with backup vocals and harmonies. The second verse is interesting because the drummer introduces a new beat/rhythm to the song, which is revisited during the outro and is played along with the bass guitar, which plays the intro part again.

Ear Fatigue

IT’S A TRAP!

Today I want to talk a little bit about ear fatigue and how it can affect you and your mix.

Many times I have found myself mixing for more than 2 or 3 hours straight without a break. You may think that this is a rather productive mixing session, free of any distractions. But more often than not, if I mix for that long without taking a break, I probably wasn’t as productive as I may have thought I was. 
At around the 1.5 hour mark, I will start to hear things in my mix that I don’t like. These are usually elements of the mix that I was happy with just a few hours prior. While ear fatigue isn’t always the cause of this, it is usually the cause when I am constantly hearing new things that I don’t like. This can easily throw me into a loop of “fixing” things. Pretty soon I’ll be trying to fix almost everything without realizing whats happening. At this point, a break is really what I need, but taking one becomes nearly impossible when there are so many things to fix! Seriously, this is the best time to take a break. If you experience this, just let it go, and don’t bother trying to “fix” anything because chances are you’ll just fuck up your mix.

The worst part about ear fatigue is that it can be extremely difficult to notice or identify. Unfortunately it can happen very quickly when mixing (especially with headphones) because we are listening so intently and critically. For this reason, the best option is to know that it is going to occur and to take regular breaks about every hour or so. If you’re like me, this can be hard to remember to do, especially when you’re making good progress and getting into it! An hourly reminder that pops up on your computer screen is a simple solution to this.
While you’re taking your break, don’t listen to anything, and keep it as silent as possible. Think about your mix if you would like, but just don’t listen to it. Stretch, go for a walk or a run, eat lunch, drink water, lay down, take a nap, have a smoke, whatever you like. Just refrain from listening to music (or anything, for that matter) during your break.
Taking regular breaks to rest your ears and mind is just as important to your workflow as working is. When your ears are experiencing fatigue, it is nearly impossible to hear your mix properly, meaning you could potentially make decisions that are detrimental to your mix. Working through ear fatigue is entirely counterproductive, and you’ll get a lot more done by taking breaks during each mixing session.

Mixing

Hello and welcome to my second post on this blog.

Today I want to talk a little bit about mixing and why I love to do it.

I have a passion for things that sound good. Even if I don’t particularly enjoy a piece of music – if it sounds good, I like it. I think I have a pretty good ear for what sounds good and what doesn’t. Ear-training and experience has played a large role in this, but I think I was also born with some natural ability to use my ears in ways that some others just can’t. As a musician and an audio engineer, I am incredibly grateful for this. With every mix, I try my absolute best to serve the song, and to make it sound as good as possible in doing so. While I still have a lot of knowledge and experience to gain, I feel that I can share some useful tips that I have gathered in the time that I have been working with audio.

Before the Mix

In order for a mix to sound good, it needs to be well recorded first. There are so many factors that go into recording but I won’t go too far down that rabbit hole. Essentially, it’s best to use at least decent microphones and set them up correctly in a space with at least decent acoustics. The more you know about recording, the better, especially if decent is all you have to work with. Basically, the better something is recorded, the less work you (or whoever is doing the mixing) will have to do in post. But I want to mainly focus on mixing here. Once the recording has been done, it needs to be mixed well. Mixing, like recording, also has many factors that go into it, and it can get complicated rather quickly.

Check your audio!

One of the biggest and most common mistakes that amateur mixers sometimes make is jumping straight into processing. It can be extremely tempting to start throwing EQ, compression, reverb, etc. on your tracks right off the bat, especially when you have an idea of what you want it to sound like, or if you feel the need to correct something. If this is something you do often, I would encourage you to hold off on that processing for now, but write down your ideas for later. You may still need some of those ideas later, but you may not need others.

First off, it is important to make sure everything is properly in phase and polarity, as this can greatly affect the sound of the mix. Phase and polarity issues only occur when more than one microphone records the same sound source. When these issues go unattended, you can easily get stuck unnecessarily gain-boosting or EQing the hell out of some of your tracks. Phase and polarity correction should be done before anything else.

Volume

The volume mix is quite possibly the most important part of a mix. You can add all the processing you want and make every single track sound pristine, but if your volume mix isn’t good, your overall mix won’t be either. So before adding any processing, get a quick volume mix going to get an idea of how all the tracks fit together into one piece.

It’s amazing how much a good volume mix can do for the sound of the overall mix. It’s always easy to get caught up in processing, but if you can make a mix sound really good by only adjusting the volume faders, you will make it sound incredible by adding any needed processing (so long as you know what you’re doing).

In my next blog I will be doing a “part 2” to this, where I will go over panning, processing, aux bussing, and more.

Introduction

It’s 2020…

Writing a blog in 2020 is quite an odd feeling to say the least. This is something I was asked to do by my professor along with the rest of my class. It’s definitely something I would never do myself, but I am hoping to make something decent out of it.

In this blog I will probably be talking mostly about music as well as how I make, produce, and mix music.

Read these blogs or don’t, doesn’t matter to me. If you do read them though, I hope you get something valuable out of it, even if that’s just a few minutes of entertainment.

Peace.

Design a site like this with WordPress.com
Get started